Installation of Solr 6.6.0 on Ubuntu 16.04:
Step 1: To update your system run following command:
apt-get update && apt-get upgrade -y
Step 2: Run the Java runtime environment before installing the Solr as it is a Java application.Moreover, the python software properties are also needed to install Java 8.
So, run the following command:
“apt-get install python-software-properties”
After that, run the following command:
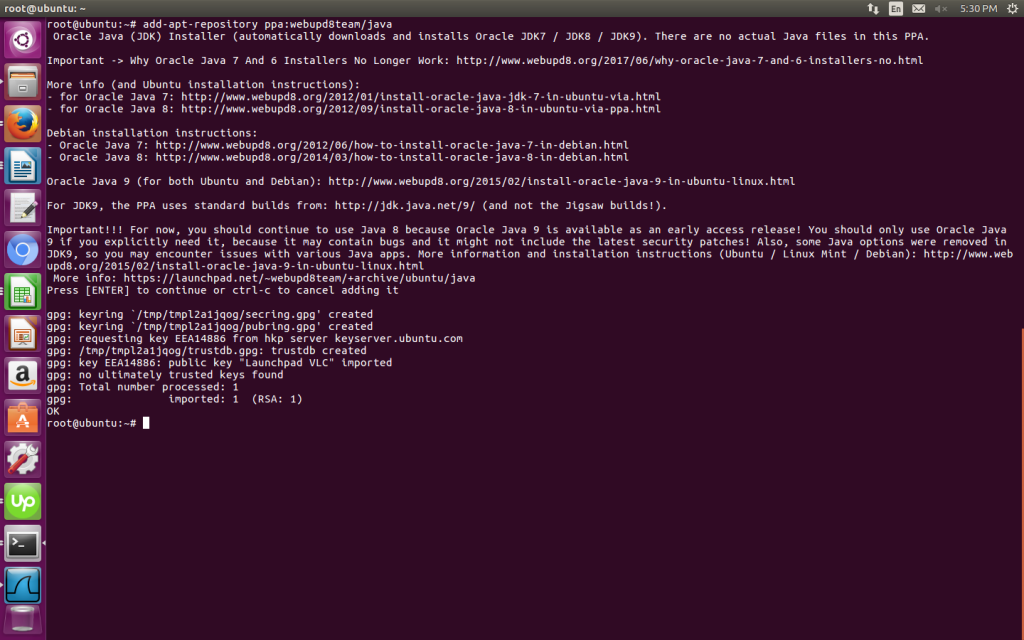
“add-apt-repository ppa:webupd8team/Java”
And update the system by running the following command:
“sudo apt-get update” Through the following command, install the latest version:
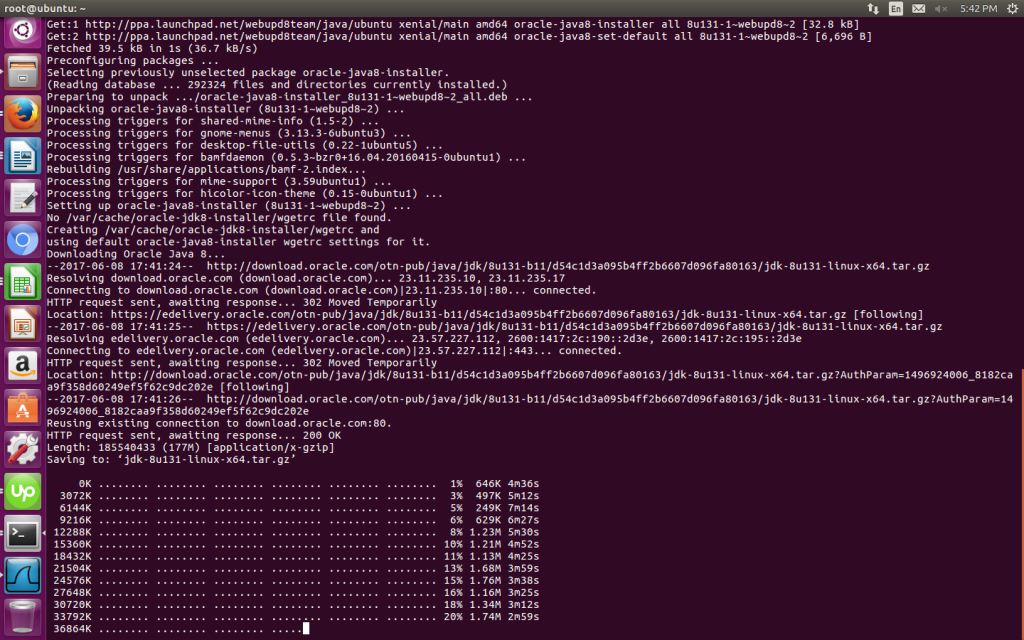
“apt-get install oracle-java8-installer”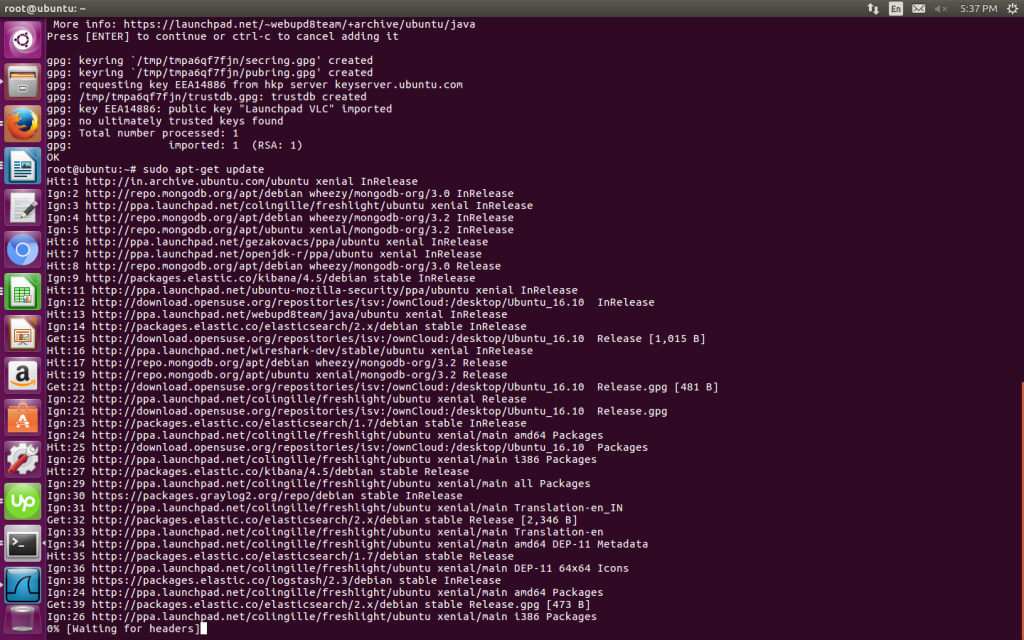 And then Press Y to continue.
You must agree to the license available at http://java.com/license if you want to use Oracle JDK, clicking on the OK button.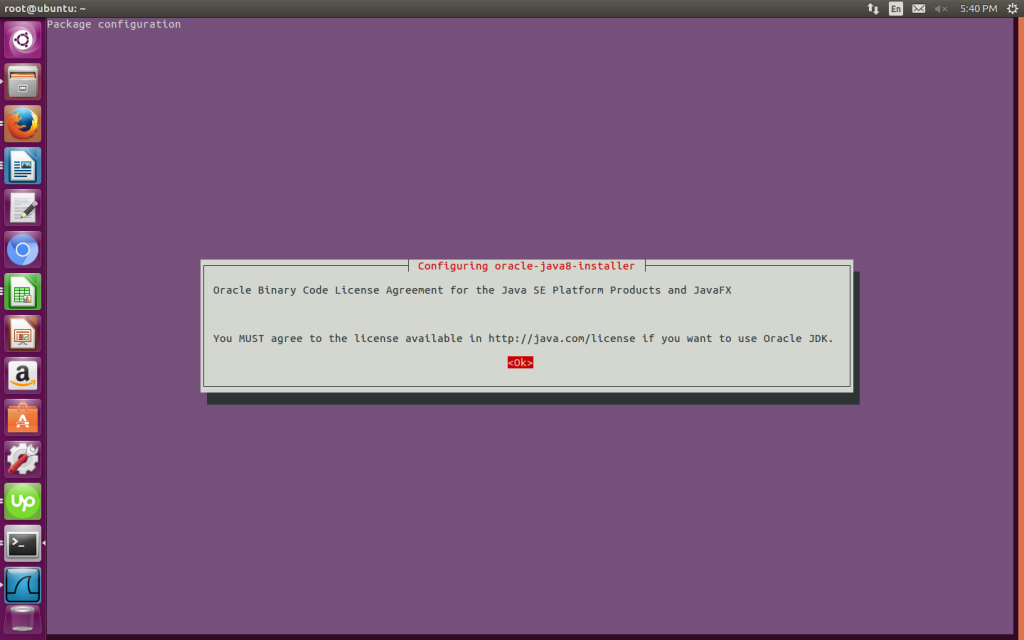
After this proceed to the next step.
Step 3: Install the solr application
Run the following command
“ cd /tmp ”
“ wget http://www.us.apache.org/dist/lucene/solr/6.6.0/HYPERLINK “http://www.us.apache.org/dist/lucene/solr/6.0.1/solr-6.0.1.tgz”solr-6.HYPERLINK “http://www.us.apache.org/dist/lucene/solr/6.0.1/solr-6.0.1.tgz”6HYPERLINK “http://www.us.apache.org/dist/lucene/solr/6.0.1/solr-6.0.1.tgz”.HYPERLINK “http://www.us.apache.org/dist/lucene/solr/6.0.1/solr-6.0.1.tgz”0HYPERLINK “http://www.us.apache.org/dist/lucene/solr/6.0.1/solr-6.0.1.tgz”.tgz ”
Now, run the command given below to extract the service installation file:
“ tar xzf solr-6.6.0.tgz solr-6.6.0/bin/install_solr_service.sh –strip-components=2 “
And install Solr as a service using the script and run following command:
“ solr-6.6.0/bin/install_solr_service.sh solr-6.6.0.tgz ”
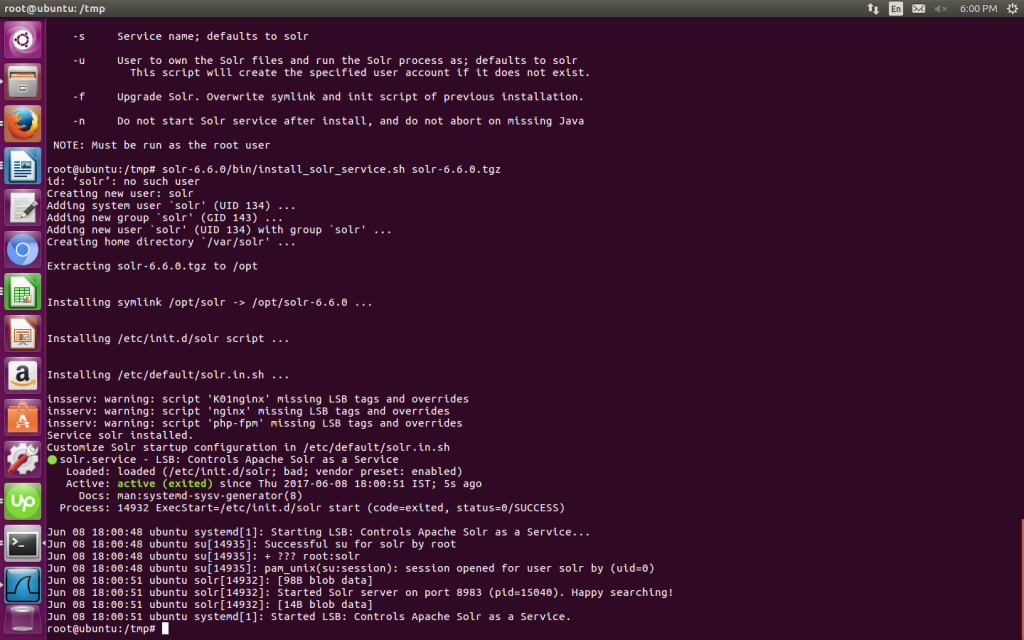
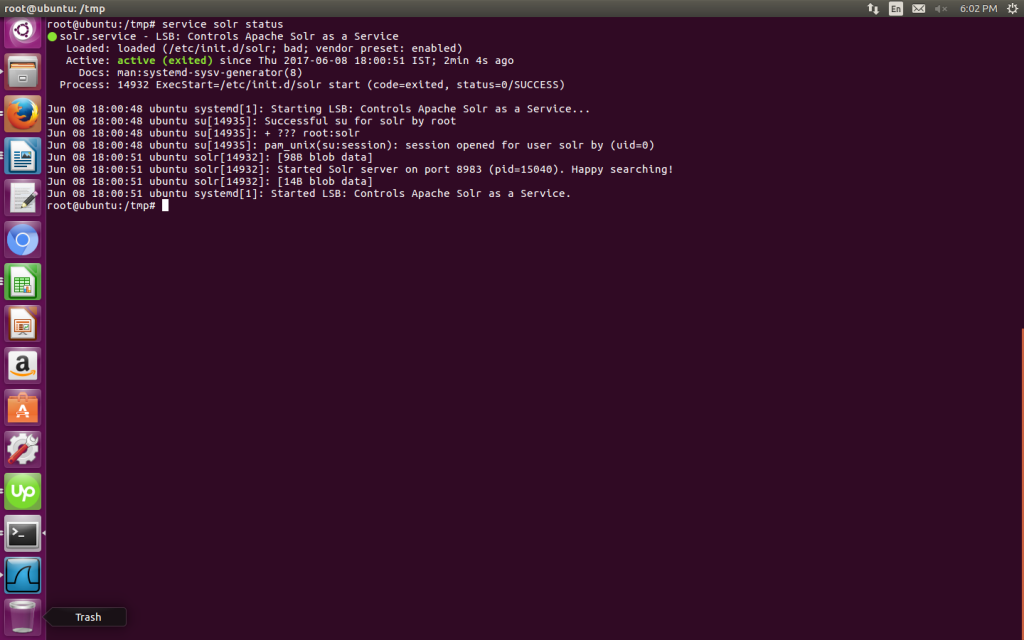
Use this command to check the status of the service
“ service solr status ”
Step 4: Creating a Solr search collection
Using Solr, we can create multiple collections. Run the given command, mention the name of the collection, we’re getting started) and specify its configurations.
“su – solr -c “/opt/solr/bin/solr create -c TEST -n data_driven_schema_configs”
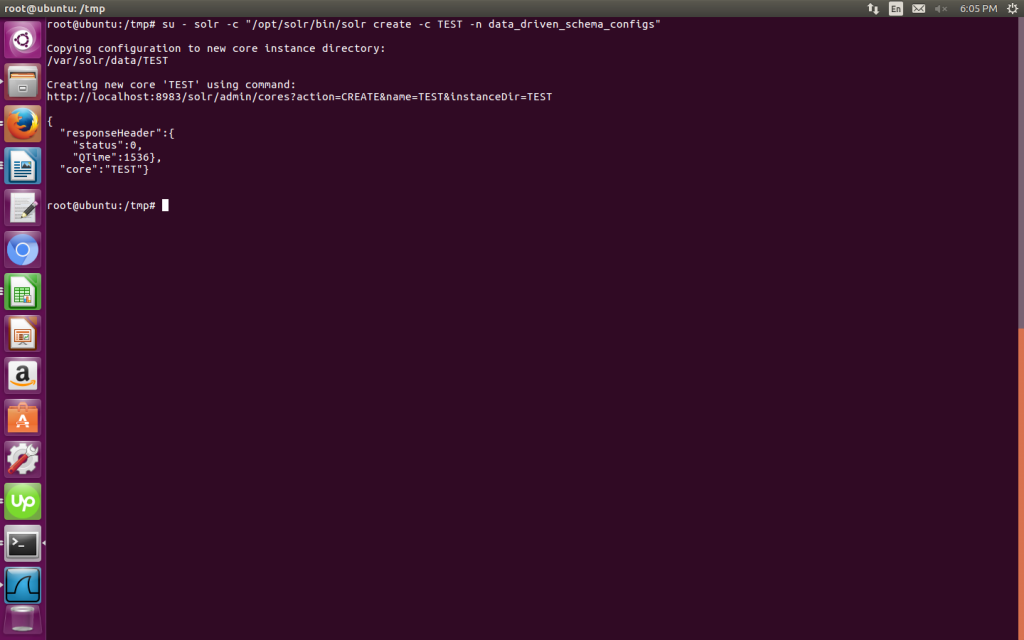
* TEST could be replaced by your collection name
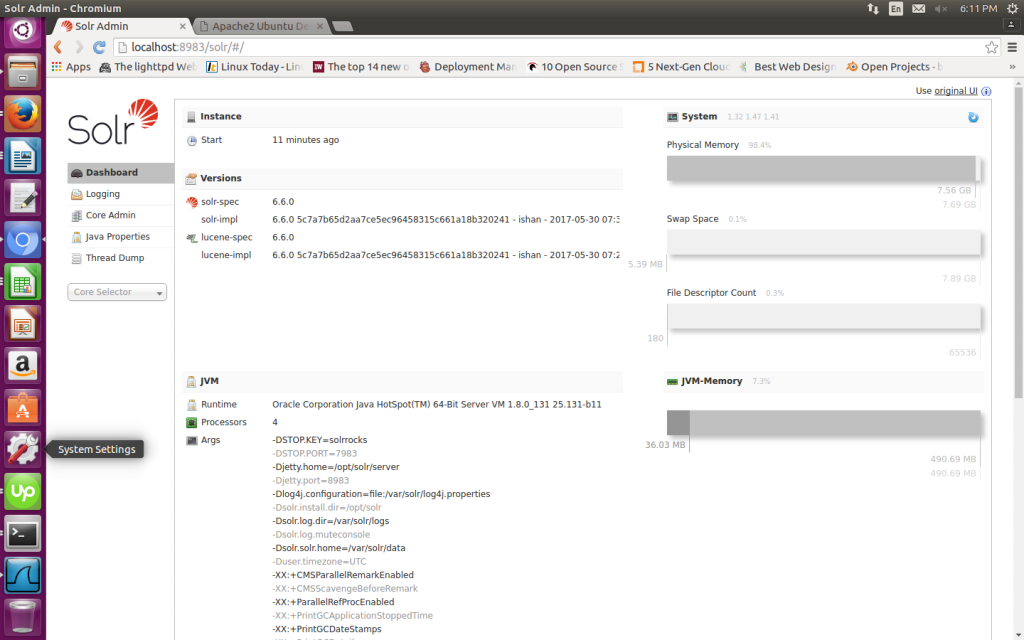
Step 5: Use the Solr Web Interface
The Apache Solr is now accessible on the default port, which is 8983. The admin UI should be accessible at http://your_server_ip:8983/solr.
(The port should be allowed by your firewall to run the links)
You will get the screen in the browser as follows:
Enjoy working with Solr, Stay updated with us to know more about the technologies!

 Server Hardening Linux: Knowing More About


Comments (0)