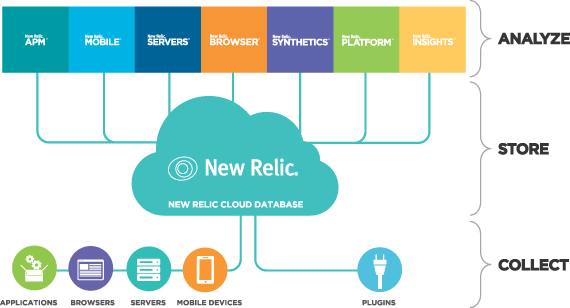
New Relic Setup for Ubuntu Server with PHP, FPM, Nginx and MySQL
Add Ubuntu Repo
Run following commands once on target server, which need to be monitored:
wget -O – http://download.newrelic.com/548C16BF.gpg | sudo apt-key add –
sudo sh -c ‘echo “deb http://apt.newrelic.com/debian/ newrelic non-free” > /etc/apt/sources.list.d/newrelic.list’
apt-get update
Server Monitoring
To enable server monitoring, install package newrelic-sysmond
apt-get install newrelic-sysmond
Then add license key:
nrsysmond-config –set license_key=XXXXXXXXXX
You can get your license key, i.e. value of XXXXXXXXXX from https://rpm.newrelic.com/accounts/
Start monitoring daemon:
service newrelic-sysmond start
This will start monitoring CPU, Memory, Disk utilization.
PHP App Monitoring
Since we are running WordPress (mostly), we need to setup PHP app monitoring as well.
For this there is a separate package in new relic repo. Run following command to install it:
sudo apt-get install newrelic-php5
Next run command:
new relic-install install
Above will prompt you for license key, which is same as previous step.
You may manually need to copy new relic ini file from php-cli to php-fpm:
cp /etc/php5/cli/conf.d/newrelic.ini /etc/php5/fpm/conf.d/
If you are monitoring multiple servers with newrelic.appname, you may like to change newrelic.appname in /etc/php5/fpm/conf.d/newrelic.ini to something unique.
You may need to restart PHP monitor:
service php5-fpm restart
PHP app monitor will graph PHP response time, error rate and throughput.
PHP-FPM and Nginx Status Monitoring
Before we proceed, I am assuming that you already have PHP-FPM status and Nginx status page enabled.
For PHP-FPM and Nginx, we will be using a third party plugin coded in python. (Github Link)
Installation
pip install newrelic-plugin-agent
Config
Copy sample config file and open it in editor.
cp /opt/newrelic_plugin_agent/newrelic_plugin_agent.cfg /etc/newrelic/newrelic_plugin_agent.cfg
Vim /etc/newrelic/newrelic_plugin_agent.cfg
Fine license_key line and change it’s value to your newrelic license key.
Alter fpm config-block to look like below:
php_fpm:
name: UNIQUNE-NAME
host: example.com
path: /status
query: json
Alter nginx config-block to look like below:
nginx:
name: UNIQUE-NAME
host: example.com
path: /nginx_status
Test
newrelic_plugin_agent -c /etc/newrelic/newrelic_plugin_agent.cfg -f
If all looks good, start monitoring using:
newrelic_plugin_agent -c /etc/newrelic/newrelic_plugin_agent.cfg
We just removed -f from end.
MySQL Monitoring
You can get latest download link for MySQL plugin from https://rpm.newrelic.com/accounts/219515/plugins/directory/52
wget https://rpm.newrelic.com/plugins/52/6d5832e3a0ca0ee6e2cf45da8d0da170 -O nr-mysql.tar.gz
tar xvf nr-mysql.tar.gz
cd newrelic_mysql_plugin-1.0.9
cp config/template_newrelic.properties config/newrelic.properties
cp config/template_mysql.instance.json config/mysql.instance.json
cp config/example_logging.properties config/logging.properties
Then open config/newrelic.properties and update licenseKey.
Also update mysql username and password in config/mysql.instance.json
Finally start mysql monitoring:
java -jar newrelic_mysql_plugin-1.0.9.jar
If you don’t have java installed, you may need to install it first.

 Server Hardening Linux: Knowing More About


Comments (0)