Installation of Apache on Ubuntu 16.04:
Apache is available within Ubuntu’s default software repositories, so we will install it using conventional package management tools.
A “LAMP” stack is a group of open source software that is typically installed together to enable a server to host dynamic websites and web apps. This term is actually an acronym which represents the Linux operating system, with the Apache web server. The site data is stored in a MySQL database, and dynamic content is processed by PHP.
Step 1: Update the local package index to reflect the latest upstream changes. Run the following command:
“ sudo apt-get update ”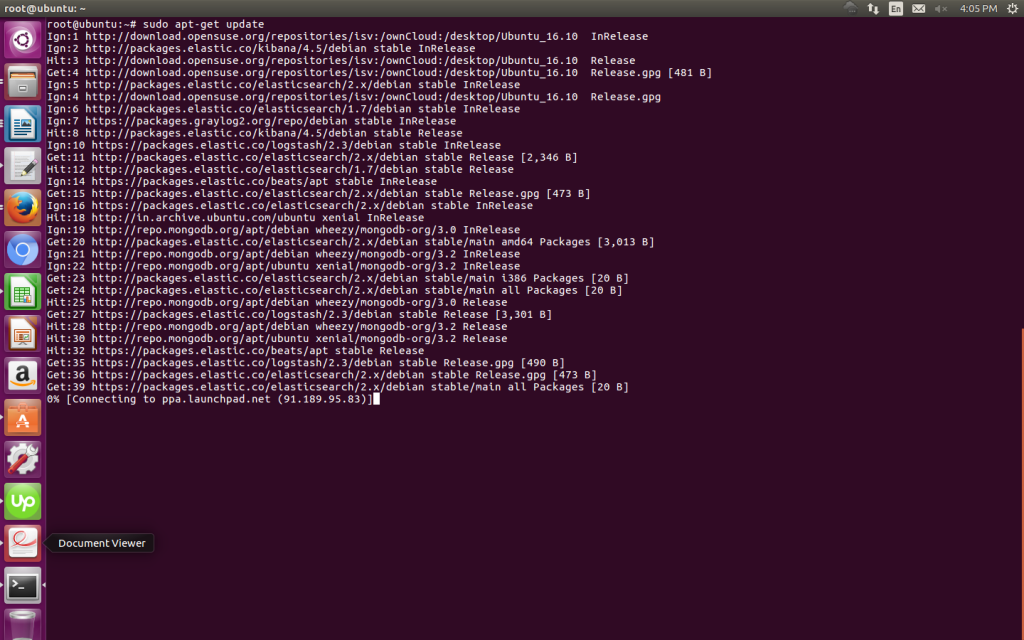
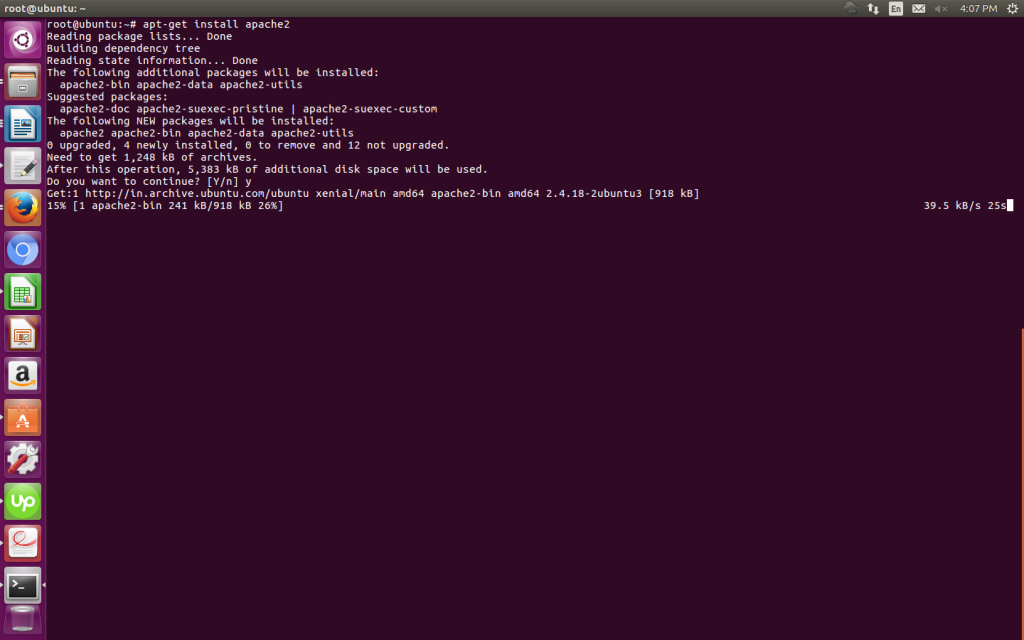
Step 2: Installation of apache
Now we may install apache by running the following command:
“ apt-get install apache2 ” OR
Step 2
You may check the version by running the following command:
“ apache2 -v ”
Here the output is as follows:
“ Server version: Apache/2.4.18 (Ubuntu) “
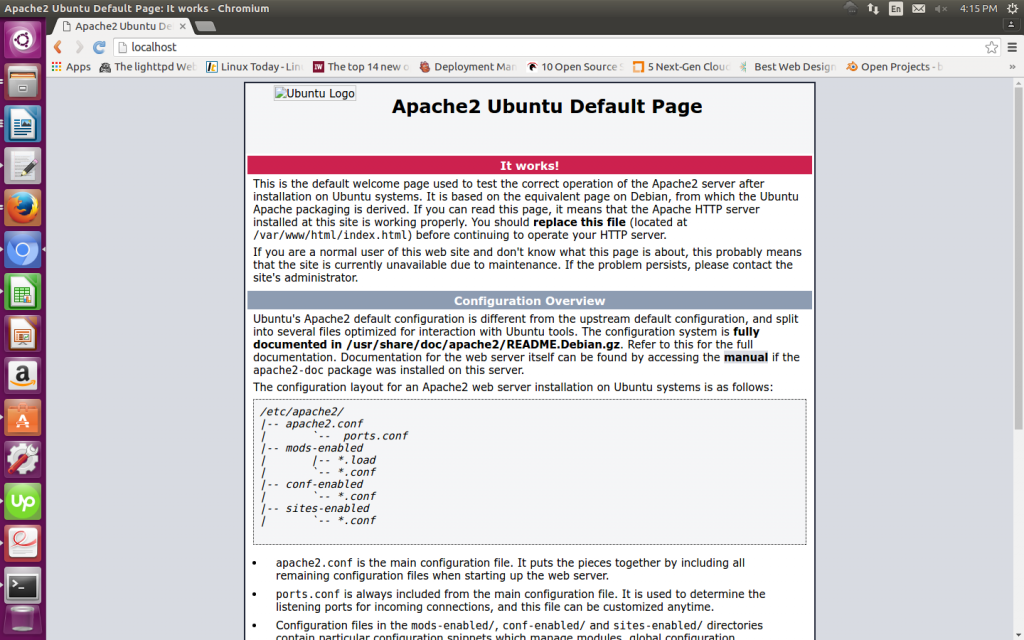
Step3: Verify the apache installation
We can verify the apache installation the on browser by running following in the browser:
” http://server_domain_or_IP “
Step 4: Manage the Apache Process
By following commands you can manage the apache process:
- systemctl stop apache2: To stop the service
- systemctl start apache2: To start the service
- systemctl restart apache2: To restart the service
- systemctl reload apache2: To reload the service
- systemctl enable apache2: To enable the service
Apache Solr is successfully installed into your PC
Stay tuned with us! For more information


 Server Hardening Linux: Knowing More About


Comments (0)